NOTE: The information displayed in the pictures is for example purposes only and does not necessarily correlate to the device you are connecting to. Follow the written instructions closely.
- This link should navigate your web browser to the Ricoh Driver download page.
If the above link does not work google “Ricoh IM C2500 Driver download” to find the Ricoh downloads page. It will have an address similar to “http://support.ricoh.com... - Confirm that you are searching for the macOS version your mac uses
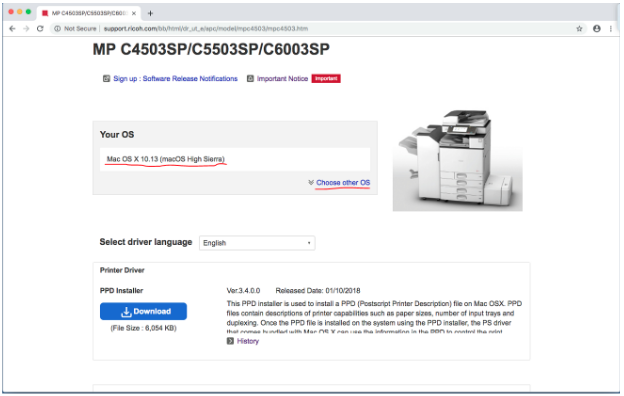
- Download the PPD driver listed for your version of macOS
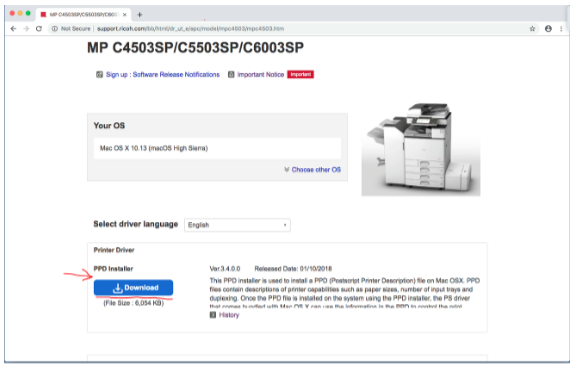
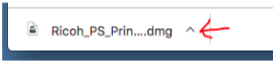
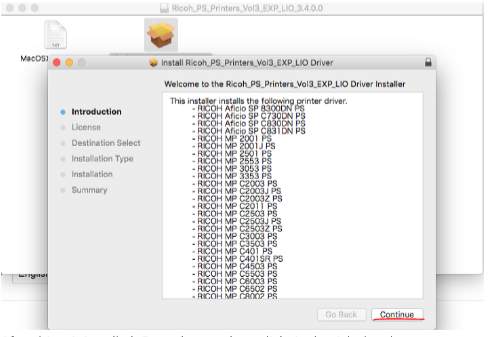
- After the driver is downloaded open and run through the installation process.
- Click next until it says it’s finished, may have to put in your login password at one point during the installation process
- After the driver is installed, Go to the search spotlight in the right-hand corner
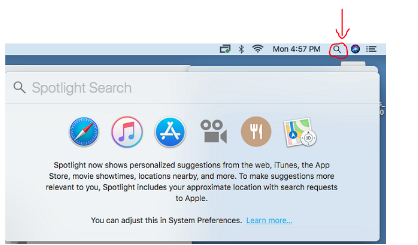
- Click on it and type in printers & scanner
- Click on printers & scanners

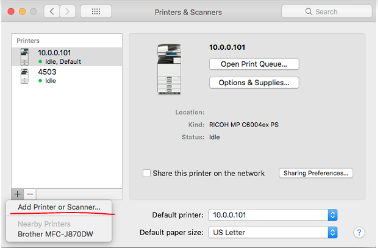
- Click on the + sign in the left-hand corner of the new screen to add a new printer

- Click add a printer or scanner
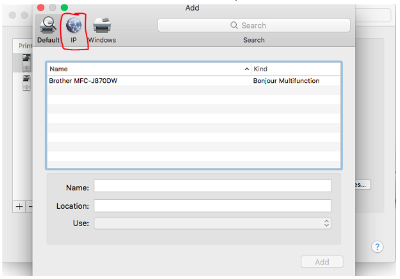
- Click on the second tab which should say IP
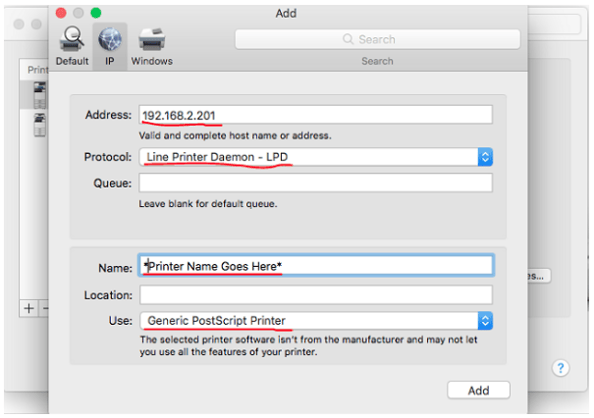
- Fill out the Address section with the machine’s IP Address (192.168.20.6)
- Set the Protocol to LPD (Line Printer Daemon)
- You can change the name section to where the device is for easier use (i.e. Front Desk, Back Room, Hallway, etc.)
- The Use section should auto-populate with a Postscript driver you downloaded, so click Add
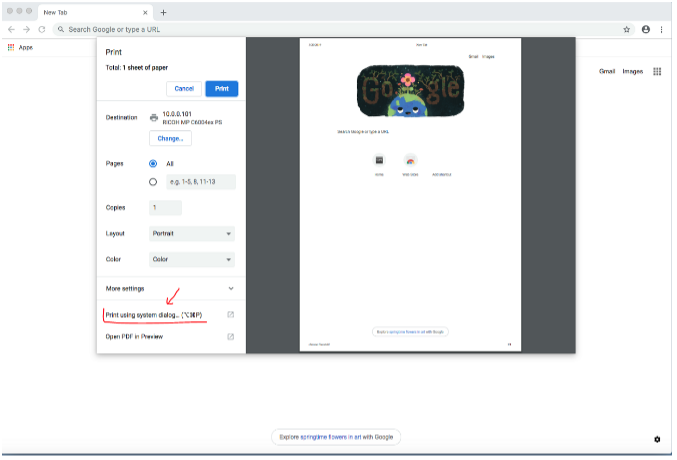
- Open a document (chrome, safari, or notes can also be used) and go to print the document

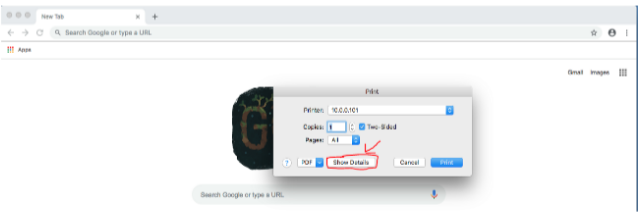
- On the print page please go down to the show details (“Print Using System Dialog” in case of printing from Chrome or Safari before clicking Show Details) button
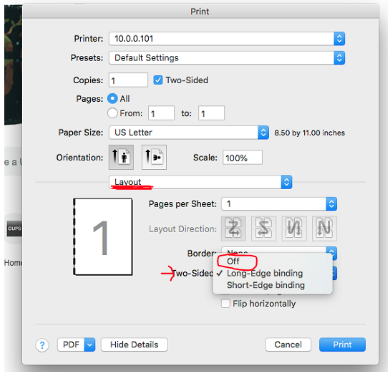
- After clicking show details, under the Layout Section, turn 2-sided: to off
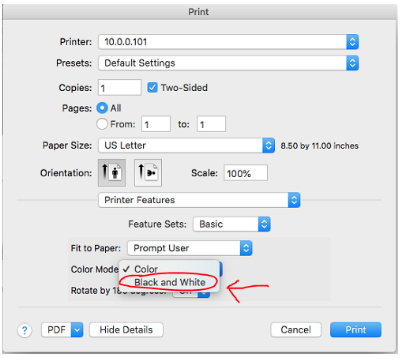
- Click into Printer Features
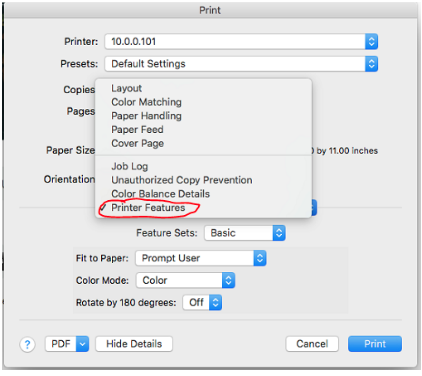
- Turn Colo Mode from color to B/W
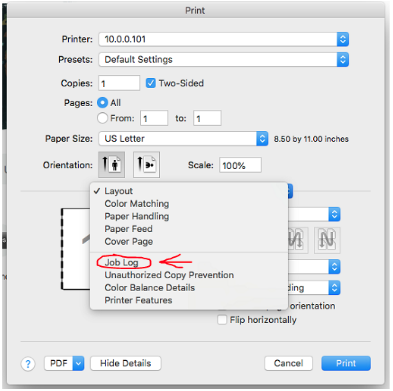
- Click into job log
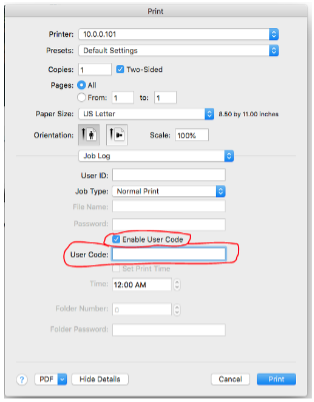
- Enable User codes and add your User Code
- Click the ‘Presets’ drop down menu and select “Save Current Settings as Preset…”
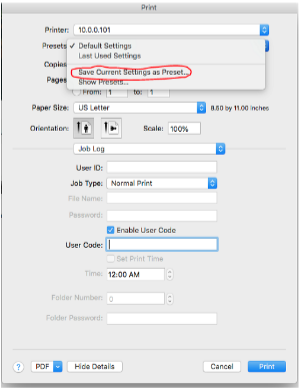
- Name the preset and select “Only this Printer.” Print the document.
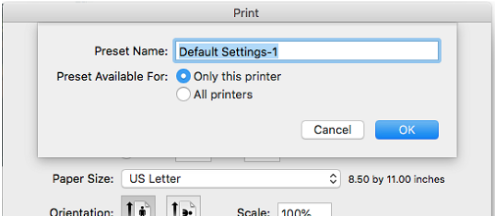
- Next time you print it should default to the preset you’ve created.