- First Navigate to https://www.kyoceradocumentsolutions.eu/en/support/downloads.html

- In the “Choose an Option” menu type in the model of Kyocera you have. In this example we will be using the TASKalfa 308ci.
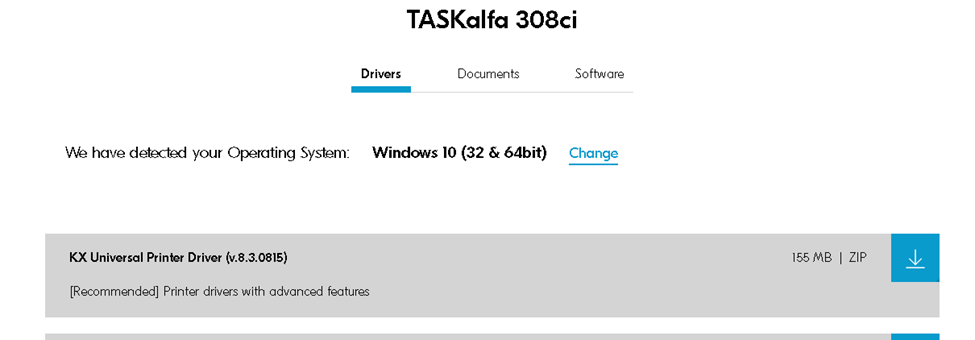
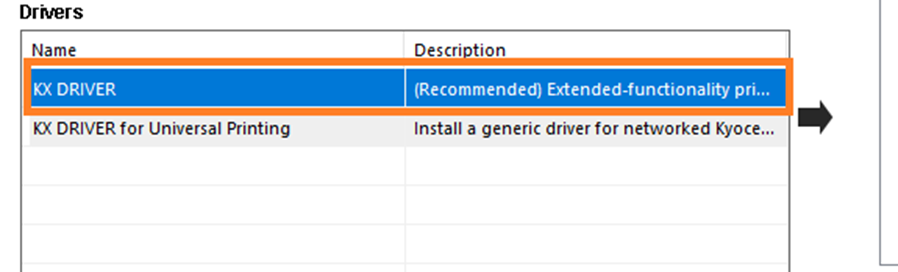
- The next page will be a full listing of drivers available for the machine you have installed. the KX Universal Print Driver is the driver we recommend using in most scenarios.
- Once the Driver is downloaded, open and run the executable which will extract the Kyocera Wizard, you should have a screen like the one below.
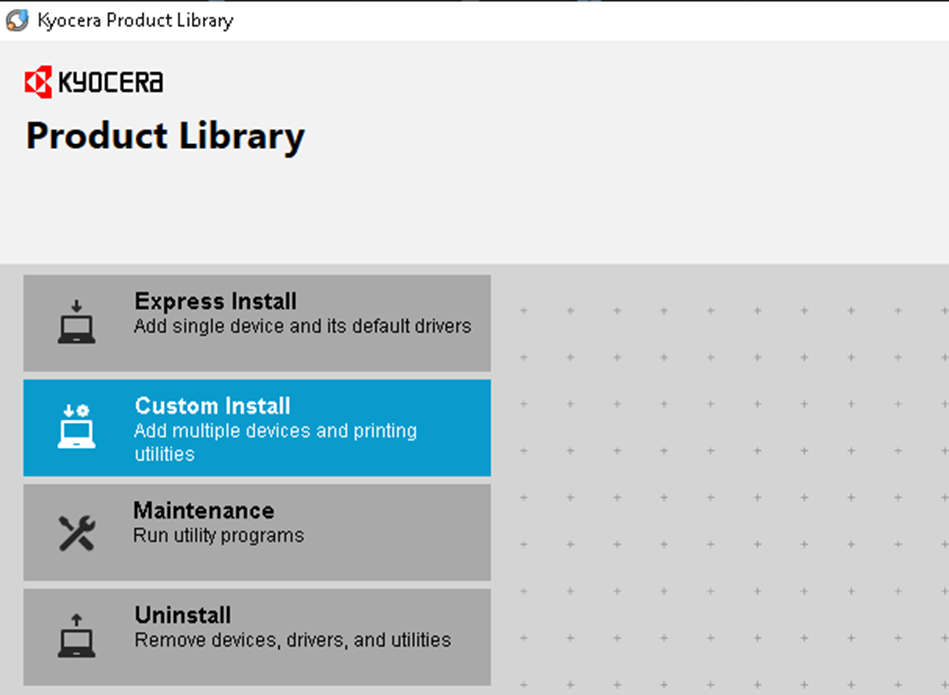
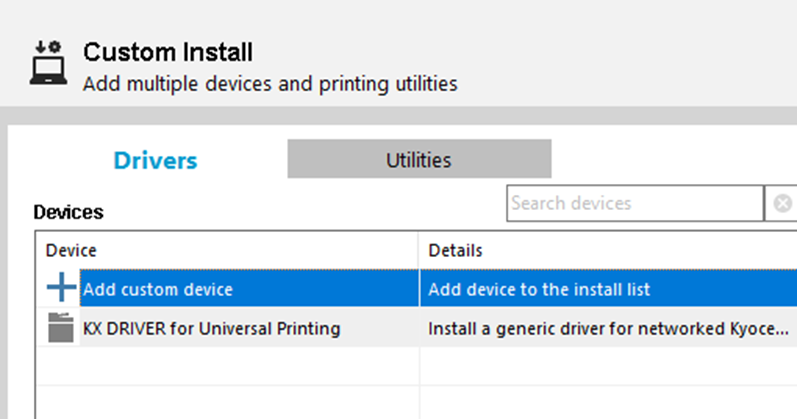
- We’ll select Custom Install so that we can better control the process, In the Custom Install window, select “Add Customer Device.”
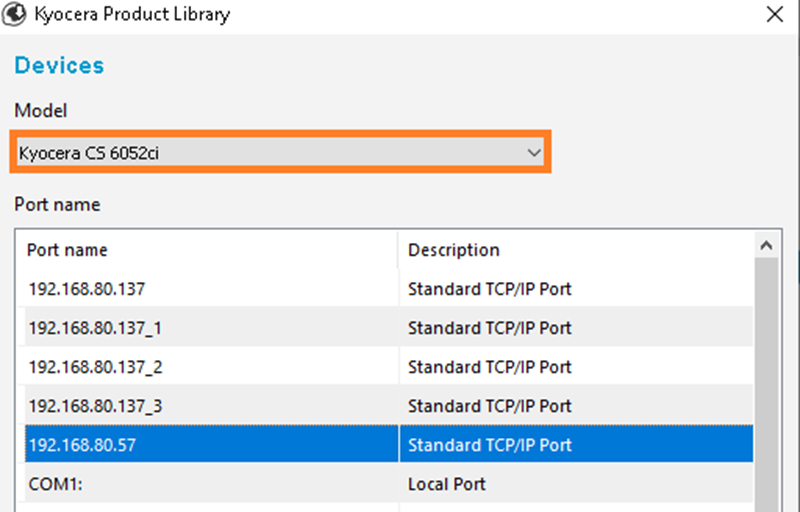
- This will open a devices page, Select the Model of the printer you have from the dropdown menu, and create the port (with the IP address of the printer) as a standard TCP/IP Port.
- Once you’ve added the device, ensure that you’re adding the recommended KX Driver from the bottom window (double click to add it to the list on the right).
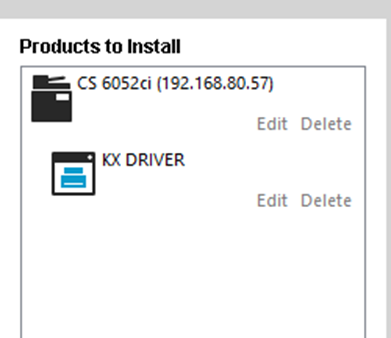
- Once you’ve selected the Print Driver, it will be listed along with the Model of the Printer in the right window. All that’s left to do is walk through the installer, and the Kyocera wizard will finish the installation for you.
English