Step 1: Access the Office1 Website
- Navigate to www.office1.com and click on “Customer Support” located in the upper right-hand corner.

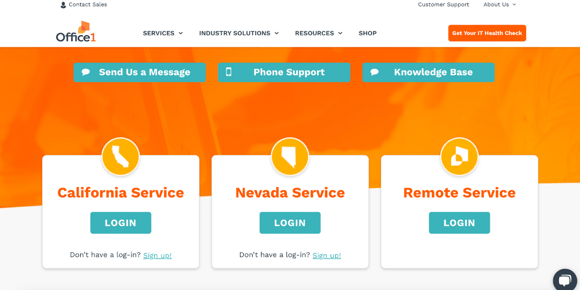
Step 2: Select Your Service Region
- Scroll down and click on “California” or “Nevada” login, depending on where your business is located.
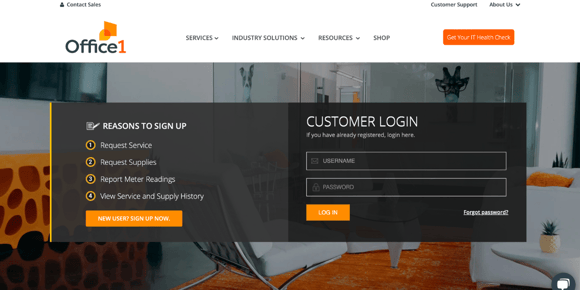
Step 3: Log In to Your Account
- On the login page, enter your username and password.
- Click the orange “Login” button.
-
If you haven’t created an account yet, follow the instructions in this article to set one up.
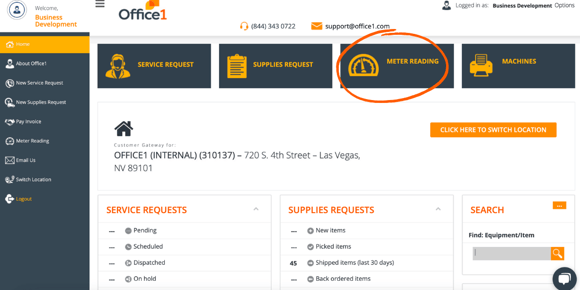
Step 4: Navigate to Meter Reading Submission
- From the home page, click on the grey “Meter Reading” button, either at the top of the dashboard or on the left side of the screen.
Step 5: Enter Meter Readings
- If you have multiple machines, scroll to locate the one(s) for which you’d like to submit meter readings.
- Select the date and enter the new reading in the green box.
- Click “Submit” to save your new reading.
Note: To locate meter readings on your Ricoh MFP, please refer to the article Ricoh - How to Locate Meter Readings in the Knowledge Base.

For further assistance, please contact our customer service team at support@office1.com or (844) 343 0722.